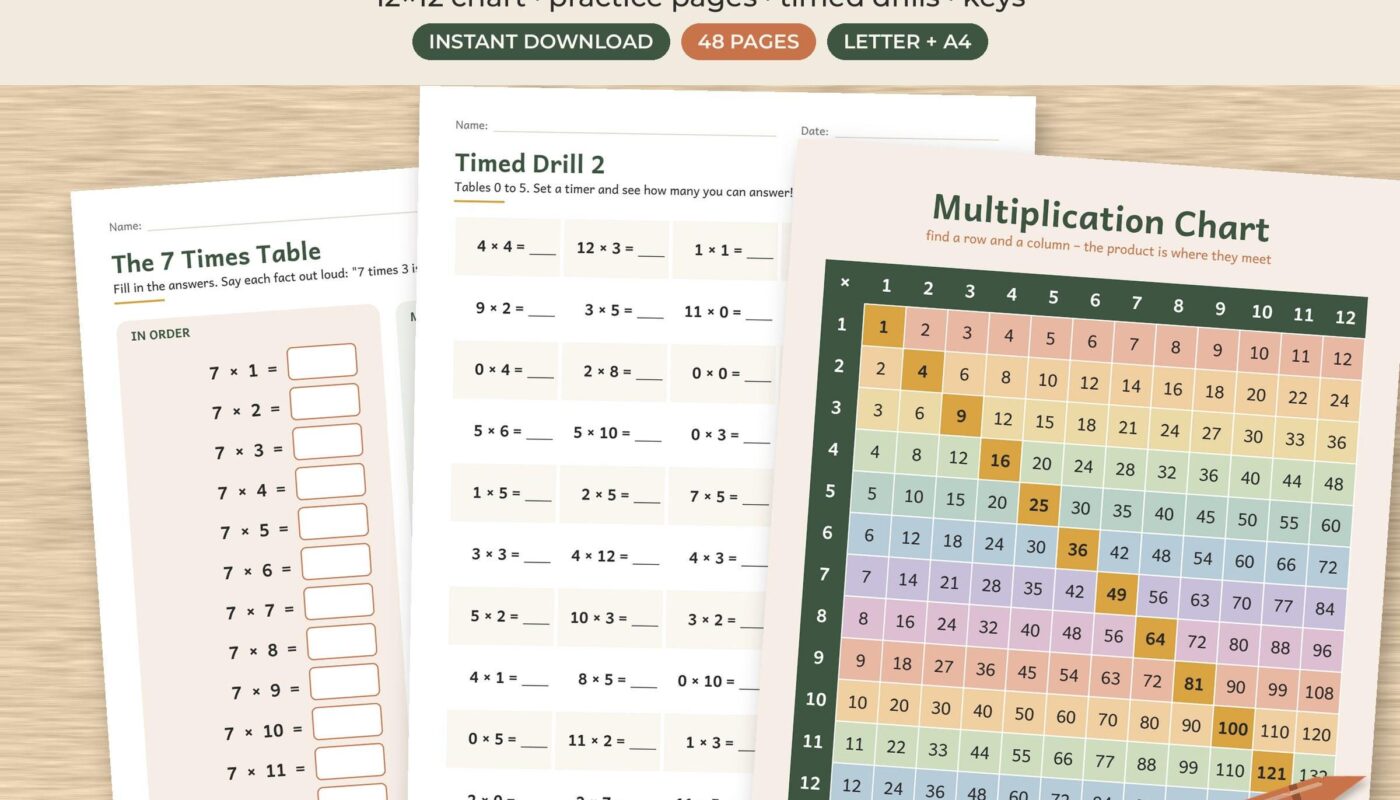
If you are working out how to teach multiplication tables, the approach that works best is simple: go in a smart order (2s, 5s and 10s first, 7s and 12s last), show what multiplication means with real objects before any drilling, and then practice for 5 to 10 minutes a day with games, a chart and a few tricks. Most children can learn all the facts up to 12 × 12 by about age 8 or 9 this way.
Below you will find the order to teach them in, seven methods that keep practice fun, how to use a multiplication chart properly, a four-week plan, and what the UK’s Year 4 multiplication tables check involves.
Which times tables should be taught first?
Start with the tables that have obvious patterns, then use them as stepping stones to the harder ones. The national curriculum for England sets out a sensible order: the 2, 5 and 10 tables in Year 2, the 3, 4 and 8 tables in Year 3, and all tables up to 12 × 12 in Year 4.
| Stage | Tables | Why this order works |
|---|---|---|
| 1 | 10, 2, 5 | Clear patterns: 10s end in 0, 2s are doubles, 5s end in 0 or 5 |
| 2 | 1 and 11 | Quick wins. 1 × anything is itself; 11 × 1 to 9 repeats the digit |
| 3 | 4 and 8 | 4s are double the 2s, 8s are double the 4s |
| 4 | 3 and 6 | 6s are double the 3s |
| 5 | 9 | A finger trick and a digit pattern make them easy |
| 6 | 12 and 7 | By now almost every fact is already known from other tables |
There are fewer facts than you think
A 12 × 12 chart has 144 facts, which sounds like a lot to a child. But 6 × 7 and 7 × 6 are the same answer, so there are really only 78 different facts. Once your child knows the 1s, 2s, 5s, 10s and 11s, only 28 of those are left. Add the 3s, 4s and 8s, and just 10 remain. Tell your child this. It makes the job feel possible.
At what age should a child know their times tables?
In both the US and the UK, the target lands around age 8 to 9.
- United States: The Common Core math standard for Grade 3 says that by the end of Grade 3, students should know from memory all products of two one-digit numbers. That covers everything up to 9 × 9. Many schools then add the 10s, 11s and 12s.
- England: Children should recall all facts up to 12 × 12 by the end of Year 4, when they are 8 or 9.
Some children get there sooner and some later. If your child is a year or two behind, the methods below still work. Go back to the stage where they are confident and build up from there.
How to teach multiplication tables to kids: 7 fun methods
These methods work best together. The first three build understanding. The last four build speed.
1. Build arrays with real objects
Before any memorizing, show what 3 × 4 actually means: 3 rows of 4. Use LEGO bricks, coins, buttons or an egg carton. Ask your child to make 3 rows of 4, count them, then turn the tray sideways. Now it is 4 rows of 3, and the total has not changed.
This is not just a nice extra. A US Department of Education What Works Clearinghouse guide on helping students who struggle with math rates using well-chosen concrete and visual representations as backed by strong evidence.
2. Skip count on a number line
Draw a number line from 0 to 50 on a long strip of paper. Have your child jump along it in 5s: 5, 10, 15, 20. Each jump is one group. Four jumps of 5 lands on 20, so 4 × 5 = 20.
The same WWC guide recommends the number line as a tool for learning math ideas. It is also the bridge between counting, which children already know, and multiplying, which they are learning.
3. Teach the “turnaround” rule early
If your child knows 6 × 4 = 24, they also know 4 × 6 = 24. The Common Core Grade 3 standard uses this exact example. Make it a game: you say a fact, they say its turnaround. It halves the work in one lesson.
4. Use tricks for the tricky tables
- 4s: Double, then double again. 4 × 7: double 7 is 14, double 14 is 28.
- 8s: Double three times. 8 × 6: 12, 24, 48.
- 6s: Five groups plus one more. 6 × 7 = 5 × 7 + 7 = 35 + 7 = 42.
- 9s on fingers: Hold up 10 fingers. For 9 × 4, fold down the 4th finger. You have 3 fingers to the left and 6 to the right: 36.
- 9s check: The digits of the answer add up to 9 (18, 27, 36, 45 and so on, up to 9 × 10).
- 11s: Up to 11 × 9, write the digit twice. Then 11 × 11 = 121 and 11 × 12 = 132.
- 12s: Ten groups plus two groups. 12 × 7 = 70 + 14 = 84.
The 6s trick is the same idea the Common Core standard uses for 8 × 7: split a hard fact into two easy ones and add them.
5. Play quick games
Games give you practice without it feeling like homework. A few that need almost nothing:
- Flip and multiply: Make two piles of paper cards numbered 1 to 12. Each player flips one card from each pile and multiplies them. The higher answer keeps the cards.
- Dice products: Roll two dice, multiply, and color that answer on a chart. First to color a full row wins.
- Car facts: On a drive, one person says a fact, the next says the turnaround or the next fact in the table.
- Times tables bingo: Fill a grid with answers. Call out facts like “7 × 8” and mark the answer.
6. Connect multiplication to division
Every fact comes in a family of four. If 8 × 5 = 40, then 5 × 8 = 40, 40 ÷ 5 = 8 and 40 ÷ 8 = 5. Practicing families means your child learns division facts at the same time, which is what both the US standards and the English curriculum expect.
7. Short, timed practice to build speed
Once your child understands the facts, speed comes from short, regular practice. The WWC guide recommends regularly including timed activities as one way to build fluency, with strong evidence behind it.
Keep it low pressure. Our approach: one minute, a sheet of mixed facts, and the only goal is to beat your own score from yesterday. Never compare siblings or classmates. If a child gets anxious about the timer, drop it for a week and use games instead.
How do you use a multiplication chart?
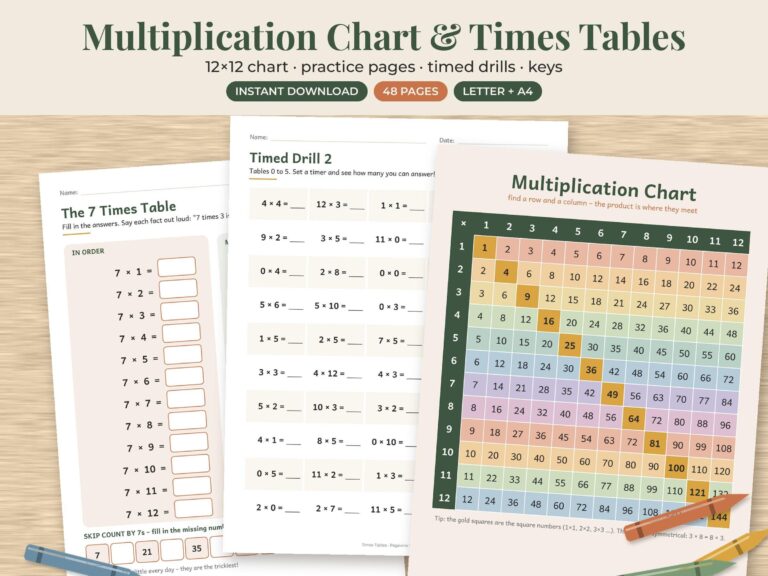
A multiplication chart is a grid with the numbers 1 to 12 across the top and down the side. Each square shows the product of its row and column.
- Find the first number in the left column. For 7 × 8, put your finger on 7.
- Find the second number in the top row. Put another finger on 8.
- Slide both fingers in, along the row and down the column, until they meet. The square where they meet says 56.
A chart is not cheating. Used well, it is a pattern-finding tool. Ask your child to:
- Color every answer in the 5s column and look at the last digits.
- Find the diagonal line from 1 to 144. These are the square numbers (1, 4, 9, 16, 25).
- Fold the chart along that diagonal and notice that both halves match. That is the turnaround rule again.
- Cover facts they know with sticky notes, so the chart shrinks as they learn.
That last idea is a great motivator. Every week, the uncovered squares get fewer. Our times tables chart printable page compares 1 to 10, 1 to 12 and blank charts, so you can pick the right one for this.
A 4-week times tables practice plan
Ten minutes a day, five days a week. Adjust the pace to your child.
| Week | Focus | Daily routine |
|---|---|---|
| 1 | 2s, 5s, 10s | Build arrays, skip count on a number line, one game |
| 2 | 4s and 8s (doubling), plus 11s | Doubling practice, turnaround game, chart coloring |
| 3 | 3s, 6s and 9s | Finger trick, “five plus one more” for 6s, fact families |
| 4 | 7s and 12s, then mixed review | One-minute beat-your-score sheets, flip and multiply |
After week 4, keep a short mixed review two or three times a week. Facts that are not used fade quickly, especially over long school breaks.
What is the Year 4 multiplication tables check?
In England, the multiplication tables check (MTC) is a short on-screen test for Year 4 pupils at state-funded schools. According to the Department for Education’s explainer on the multiplication tables check:
- It became statutory in the 2021/22 school year.
- It has 25 questions on tables up to 12 × 12, after 3 practice questions.
- Pupils have 6 seconds to answer each question.
- It should take no longer than about 5 minutes.
- There is no pass mark. Schools use the results to see where children need support.
Schools run the check during a set two-week window in June. The 6-second limit is the key detail for practice at home: it tests instant recall, not working out. If your child can answer a fact in 2 or 3 seconds, they are in good shape. If they are still counting on their fingers, go back to the tricks and games for that table.
When your child is stuck on a table
| What you see | Try this |
|---|---|
| Counts up from zero every time | Go back to arrays and skip counting until the pattern clicks |
| Knows 3 × 7 but not 7 × 3 | Practice the turnaround rule with a chart fold |
| Always mixes up 6 × 8 and 7 × 8 | Practice only those two facts for a few days, with a trick for each |
| Freezes on timed sheets | Drop the timer and use games for a week |
| Forgets everything after a break | Two short mixed reviews a week keeps facts fresh |
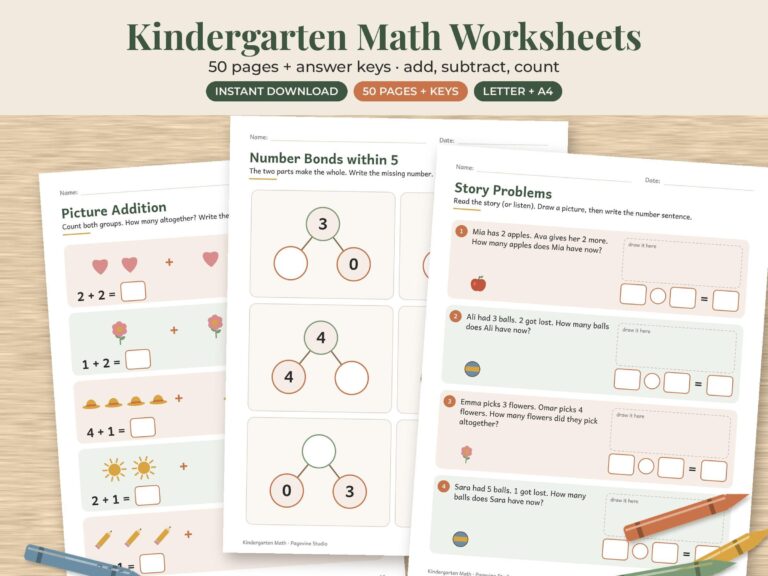
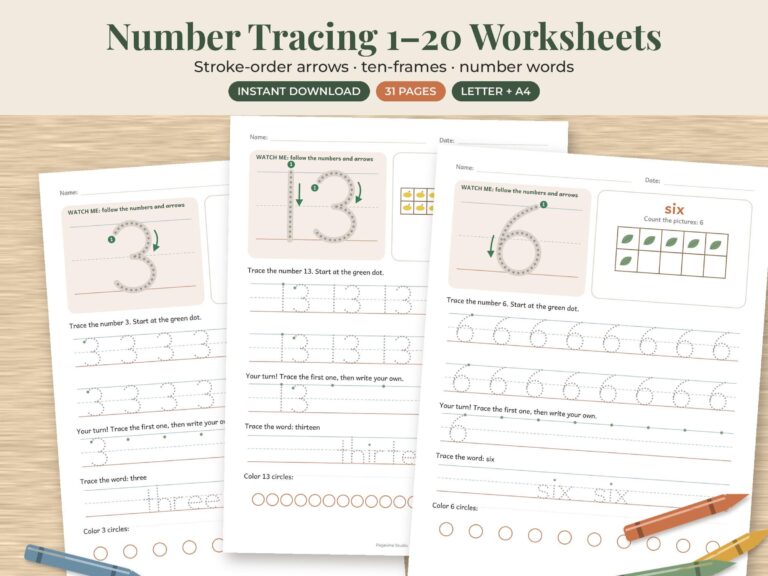
For younger brothers and sisters who are not ready for multiplication yet, counting and skip-counting practice lays the groundwork. Our kindergarten math worksheets and number tracing worksheets 1 to 20 cover those early steps.
If you want a ready-made version for older kids, our multiplication chart and times tables worksheets pair a 1 to 12 chart with practice sheets, and you can find more printables in our kids worksheets and classroom printables collection.