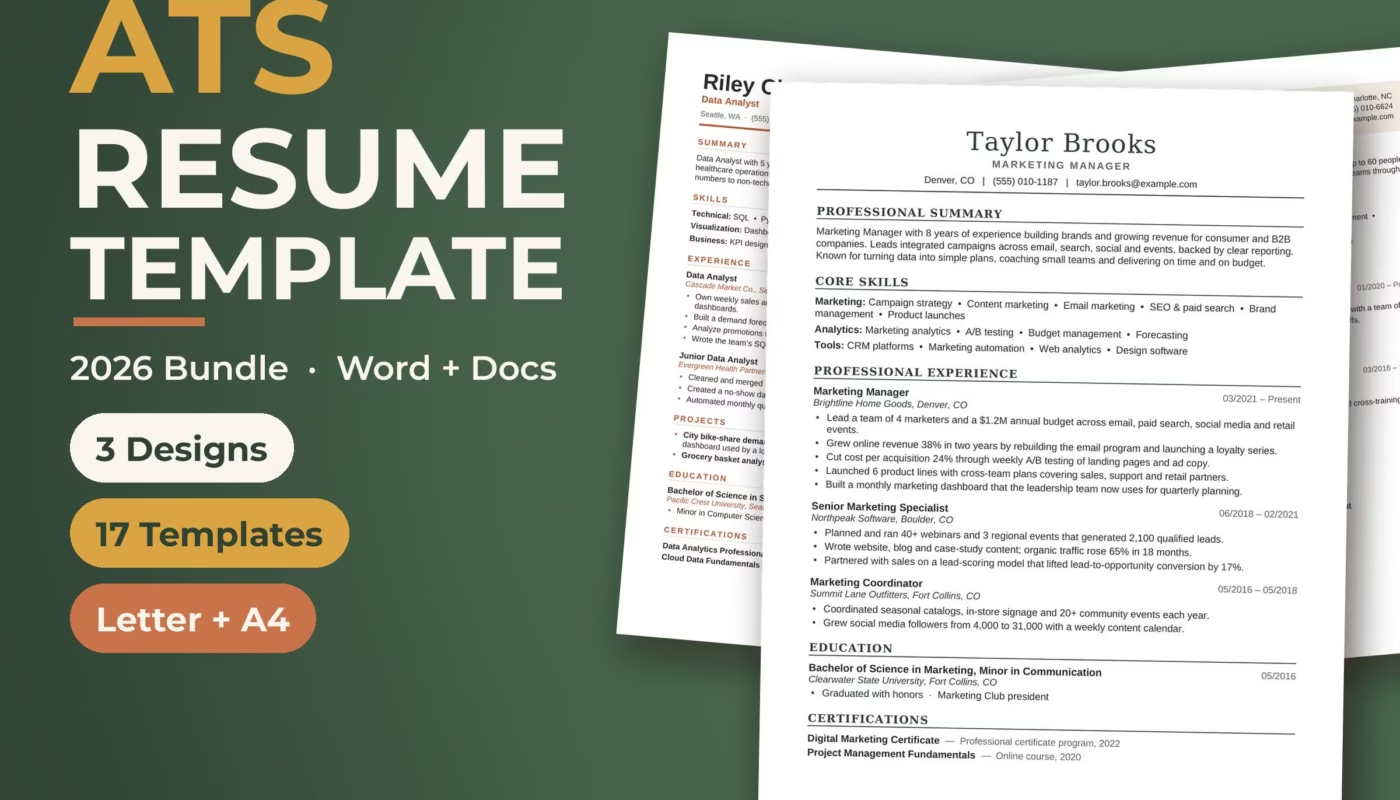
To use a resume template in Word, open the .docx file, click Enable Editing, replace every placeholder with your own details, and change fonts through Word’s Styles rather than one line at a time. To keep it ATS friendly, stick to one column, keep your name and contact details in the main body (not the header), use standard headings like “Experience”, and save a PDF copy only after checking the page count.
That’s the short version. Below are the 11 steps in order, a section-order table for your career stage, the Google Docs route, and a checklist of the formatting mistakes we see most often in edited templates.
Quick answers before you start
| Question | Short answer |
|---|---|
| One column or two? | One column for online applications. Two columns are fine for a printed copy you hand over in person. |
| Word (.docx) or PDF? | Whatever the job posting asks for. If it doesn’t say, a text-based PDF made straight from Word is a safe default. |
| Best fonts? | Arial, Calibri, Georgia or Times New Roman at 10 to 12 pt for body text. |
| Margins? | 0.75 inch is ideal; don’t go under 0.5 inch. |
| How long? | One page for most people; two pages with a lot of relevant experience. |
| Time needed? | About 60 to 90 minutes for a first full edit. |
How to use a resume template in Word: 11 steps
1. Save a clean copy first
Before you type anything, duplicate the template file and rename the copy, for example “Jordan-Lee-Resume-2027.docx”. Keep the original untouched. If you break the layout later, you can start again in seconds instead of downloading it again.
2. Open it and click Enable Editing
Word opens files downloaded from the internet in Protected View, with a yellow bar across the top. Click Enable Editing or nothing you type will stick. If the file came in a .zip folder, unzip it first; opening a .docx from inside a zip can open a read-only copy.
3. Turn on formatting marks
Click the paragraph symbol (¶) on the Home tab. You’ll now see every space, tab and paragraph break. This is how you avoid the most common template accident: deleting the hidden mark that holds a section’s spacing together.
4. Replace the placeholders, top to bottom
Work from your name downward. Select one placeholder line at a time and type over it so the formatting carries across. Use Home > Replace to swap a sample name or city everywhere at once. If clicking a placeholder selects a whole gray block, it’s a content control; just start typing to replace it.
5. Paste text without bringing old formatting along
Copying from an old resume or LinkedIn drags in fonts and spacing that fight the template. Right-click and choose Keep Text Only when you paste. It takes one extra click and saves ten minutes of fixing line spacing.
6. Change fonts with Styles, not one line at a time
A good template uses Word Styles: one for headings, one for job titles, one for body text. Right-click a style in the Home tab gallery and choose Modify to change every heading at once. As Harvard’s Mignone Center for Career Success advises, “Be consistent in format and content,” and Styles do that for you.
7. Keep the layout single-column
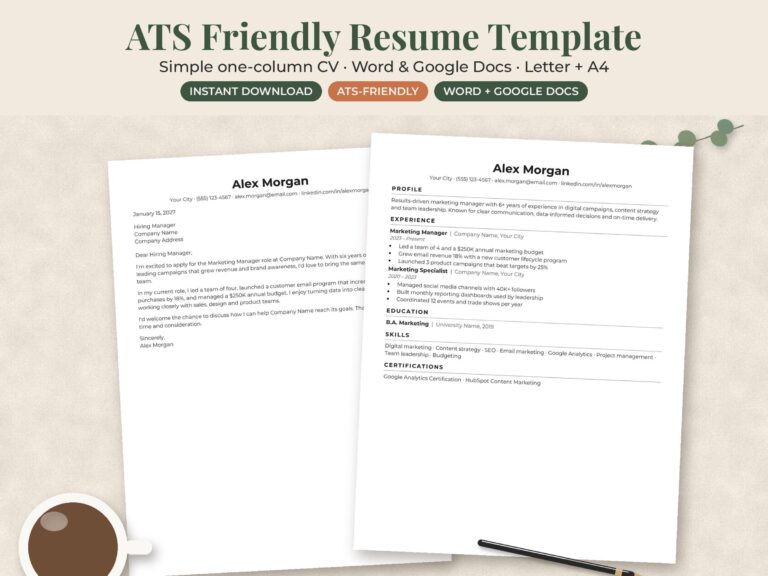
Applicant tracking systems read top to bottom. MIT’s career advising team warns that “ATS may struggle with reading tables, columns, graphics, and images.” If your template has a sidebar for skills, move those skills into a normal section in the main body before you apply online.
8. Move contact details out of the header
Many templates put your name, phone and email in Word’s header area because it looks tidy. Some systems skip headers and footers. UC Santa Barbara’s Graduate Division tells applicants to “avoid putting information in headers or footers,” so double-click the header, cut that text, and paste it as the first lines of the page.
9. Use plain bullets and standard headings
Stick with round or square bullets and headings people expect: Summary, Experience, Education, Skills, Certifications. MIT notes that “Non-standard bullet points can confuse ATS.” Clever headings like “Where I’ve Been” may not be read as an experience section.
10. Fit it to the page without shrinking the font
Check the page count in the status bar at the bottom of Word. If you spill onto a second page by three lines, cut a weak bullet or tighten spacing before and after headings. MIT’s advice is blunt: “Don’t shrink the font to fit more content.” Also check paper size under Layout > Size: Letter for the US and Canada, A4 almost everywhere else.
11. Save as .docx and as PDF
Save your edited .docx, then make a PDF with File > Save As and choose PDF as the file type (or File > Export on some versions). Open the PDF and check every line. Name both files with your name, like “Jordan-Lee-Resume.pdf”, never “resume-final-v3.pdf”.

Resume section order by career stage
Templates come with a default order, but you should move sections to put your strongest proof first. Harvard’s guide says to “List headings (such as Experience) in order of importance” and to list entries “in reverse chronological order (most recent first).”
| Career stage | Section order (top to bottom) |
|---|---|
| Student or new grad | Contact, Education, Experience or Internships, Projects, Skills, Activities |
| Early career (1 to 5 years) | Contact, Summary, Experience, Skills, Education |
| Experienced (5+ years) | Contact, Summary, Experience, Key Skills, Education, Certifications |
| Career changer | Contact, Summary, Relevant Skills, Relevant Projects or Training, Experience, Education |
| Nurse or licensed role | Contact, Summary, Licenses and Certifications, Clinical Experience, Education, Skills |
To move a section in Word, select the heading and everything under it (with formatting marks on, so you grab the final paragraph mark too), cut, click where it should go, and paste.
Using a resume template in Google Docs instead
You don’t need Word to edit a .docx template. Google Docs is free and works well with simple layouts.
- Upload the .docx to Google Drive, then right-click it and choose Open with > Google Docs.
- Check File > Page setup and confirm Letter or A4.
- Edit the same way: top to bottom, typing over placeholders.
- Watch the page count. Google Docs often spaces lines slightly differently from Word, so a one-page Word resume can push onto page two. Trim spacing after headings to pull it back.
- Export with File > Download > PDF Document (.pdf), or Microsoft Word (.docx) if the employer wants Word.
One warning from UCSB: “do not do multiple conversions.” Going from Word to Google Docs to PDF and back again is how spacing and bullets get scrambled. Pick one program and finish in it.
Should you send the .docx or the PDF?
Follow the posting first. Some application portals ask for Word because their software was built around it. If there’s no instruction, a PDF made directly from Word or Google Docs keeps your layout exactly as you designed it, and UCSB’s advice is to “create in MS Word or Google Docs and save as a PDF.”
Whatever you send, run a quick test. Open the PDF, select all the text, and paste it into Notepad or TextEdit. If your name, headings and job titles come through in a sensible order, the software can read it too. If they arrive jumbled, a column or text box is the usual culprit. For a fuller explanation, see our guide to what an ATS-friendly resume is.
Common formatting mistakes: a 12-point checklist
Run through this list before every application. It takes about five minutes.
- No placeholder text left anywhere (search for “Lorem”, “Your Name” and “Company Name”).
- Name, phone, email and city are in the main body, not the header.
- One column, with no text boxes or tables holding key information.
- No skill bars, star ratings, icons or photos standing in for words.
- Headings use standard names (Experience, Education, Skills).
- One font family, or two at most, used the same way throughout.
- Body text is 10 to 12 pt; margins are at least 0.5 inch.
- Dates use one format everywhere, such as “Mar 2024 to Present”.
- Bullets start with a strong verb and include a number where you have one.
- Exactly one or two full pages, with no stray blank page at the end.
- Correct paper size for the country you’re applying in.
- File names include your name, and the PDF opens and reads cleanly.
Editing a resume and cover letter template as a pair
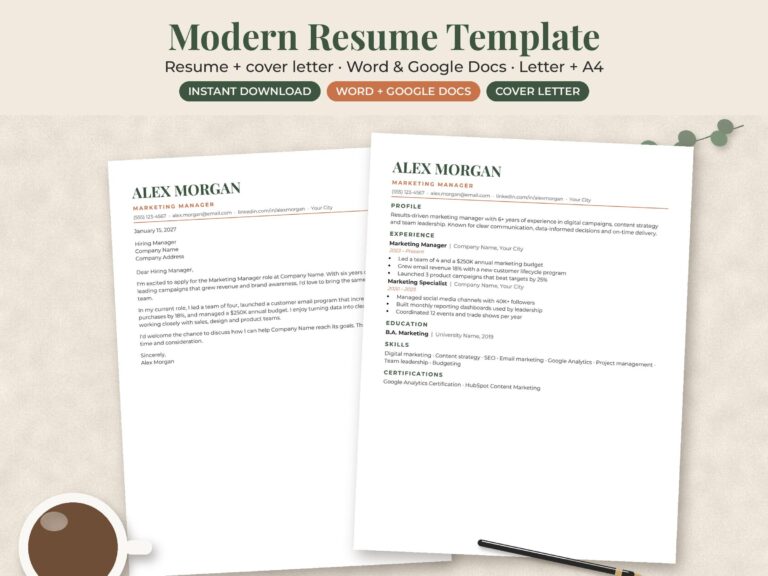
If your template came with a matching cover letter, edit the resume first. Then copy your name and contact block straight from the finished resume into the letter so both match exactly.
- Keep contact details in the body, not in Word’s header, just like on the resume.
- Replace every sample sentence. Sample wording is there to show length and tone, about three to four short paragraphs. Hiring managers recognize stock template lines.
- Name the company and the job title in the first paragraph, and use one or two keywords from the posting.
- Save it the same way: “Jordan-Lee-Cover-Letter.pdf” next to “Jordan-Lee-Resume.pdf”.
Picking a professional resume template that won’t fight you
A template saves time only if it’s built well. Before you buy or download one, check that it uses real text (not images), Word Styles, common fonts you already have, and a single-column version. A matching cover letter is a bonus, since Harvard advises using “the same font type and size” on both.
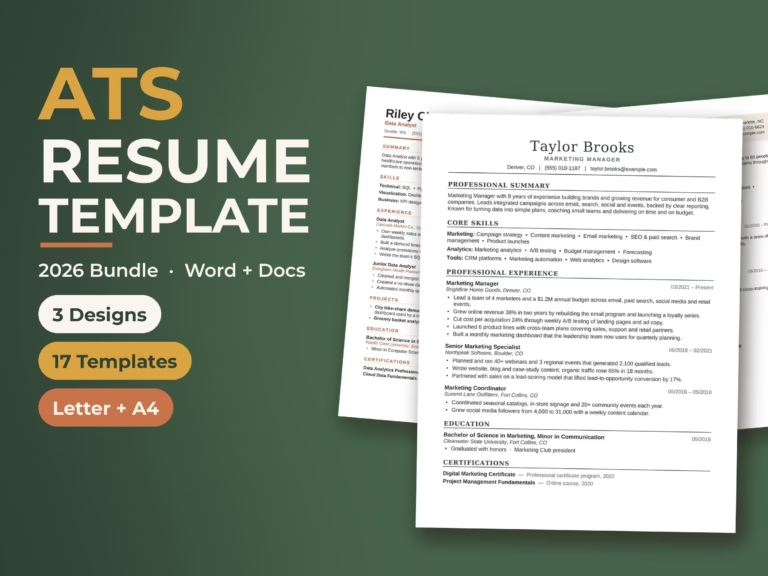
If you want a ready-made version, our resume template for Word includes Letter and A4 files, one- and two-page versions, and a matching cover letter for each design, in Arial and Georgia. Nurses can start with the nursing resume template, which has a new grad version with a clinical rotations section. You can compare every option on our resume templates page.